Generated Parts and Assemblies
Some parts and assemblies are made from values rather than drawn: a gear with any number of teeth, a wardrobe of any size with its doors and drawers. A package (or your project) defines them, and you insert them from the assembly toolbar. A dialog takes the values while the viewport shows the result, and Edit parameters… changes them later. A generated assembly brings its joints with it: the wardrobe's doors swing on their hinges and its drawers slide on their runners.
This page uses two packages, @fluidcad/cabinets for the Cabinet, set up as a wardrobe, and @fluidcad/gears for the Gear. To write your own, see Generated Parts and Assemblies in the Custom Features section.
The Generate Parts dropdown
With an assembly open, the last button of the assembly toolbar, Generate Parts, lists every generated part and assembly the project can insert: the project's own under This project, then each package under its name and version.
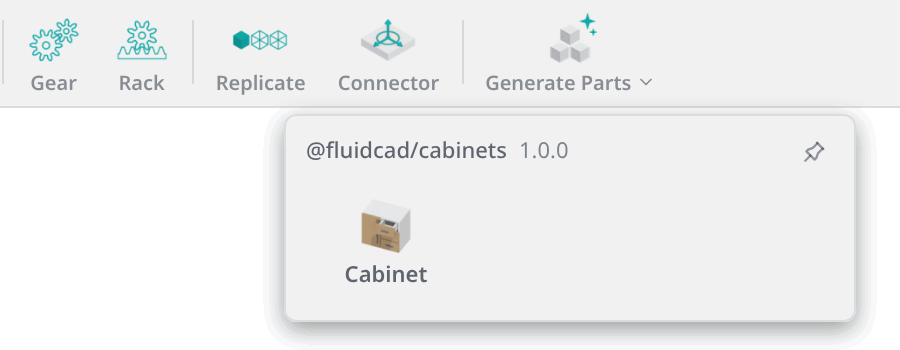
- The pin beside a package's name puts its entries on the toolbar, in a group of their own before Generate Parts. Right-click the group and choose Unpin to put them back. A pin holds for both toolbars: a pinned package's features sit on the part toolbar, and its generated parts and assemblies on the assembly toolbar.
- A package from your library that the project doesn't use yet is listed too. The preview uses it without writing anything; Apply records it in the project's
fluidcad.json, as using one of its features does (Packages). - With nothing to list, the dropdown points to the Hub panel, where packages are found and installed.
The Insert dialog lists generated parts and assemblies as well, each a tile marked generated part or generated assembly. Clicking the tile closes the Insert dialog and opens the definition's dialog, as the dropdown does. With other parts queued, it says to insert them first.
Inserting a wardrobe
-
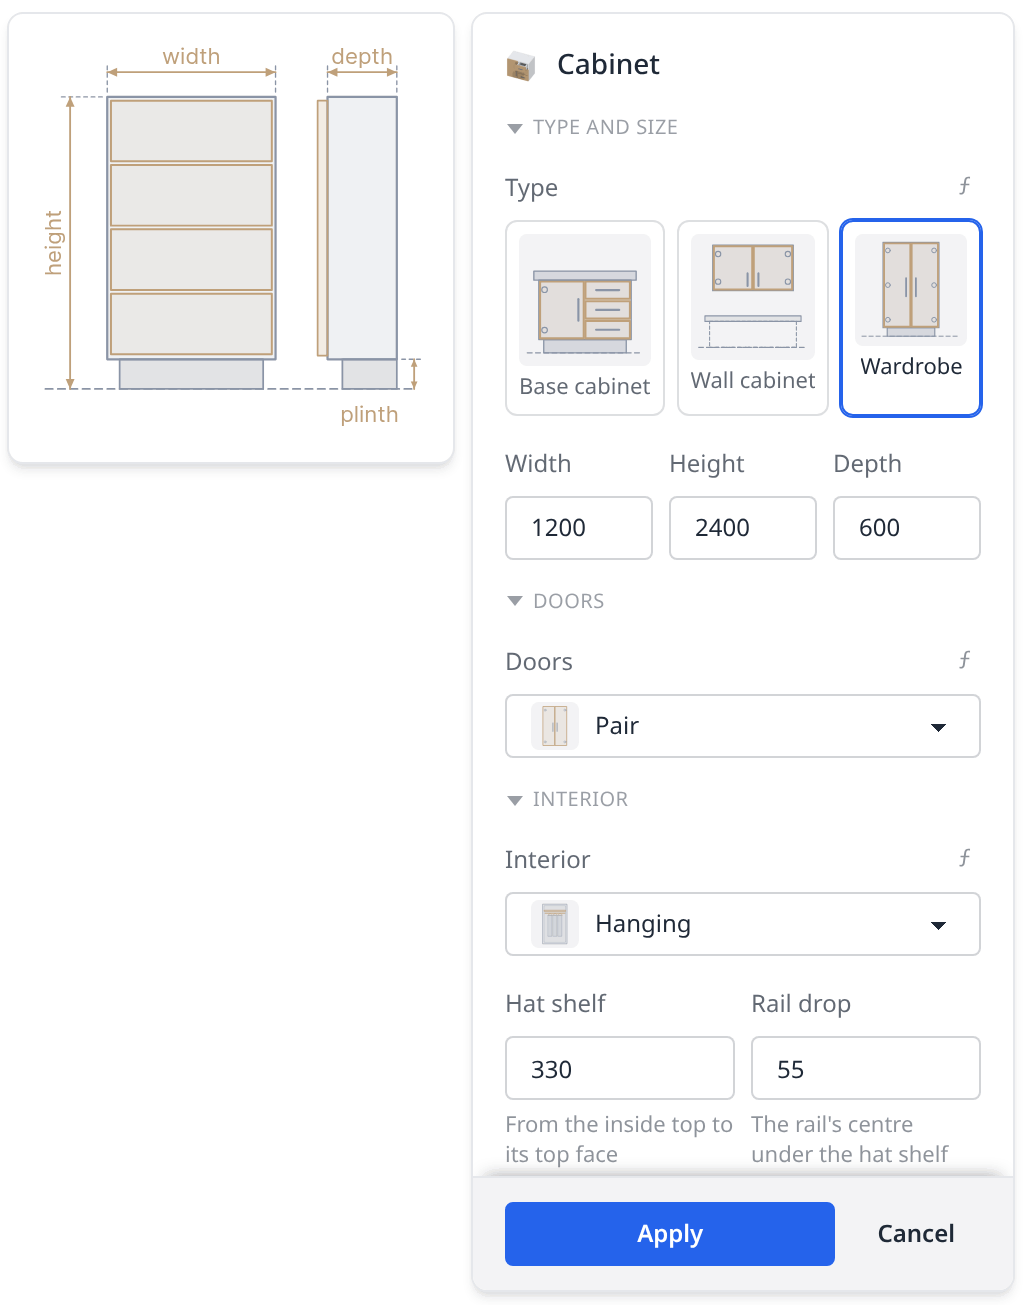
Click Generate Parts, then Cabinet, and choose Wardrobe under Type. The dialog opens docked on the right. It is the dialog a custom feature has, with the values only: no pick slots, no Add / New tabs, no Preview toggle. The Cabinet's opens wide, with a drawing of the cabinet's size beside its rows.
-
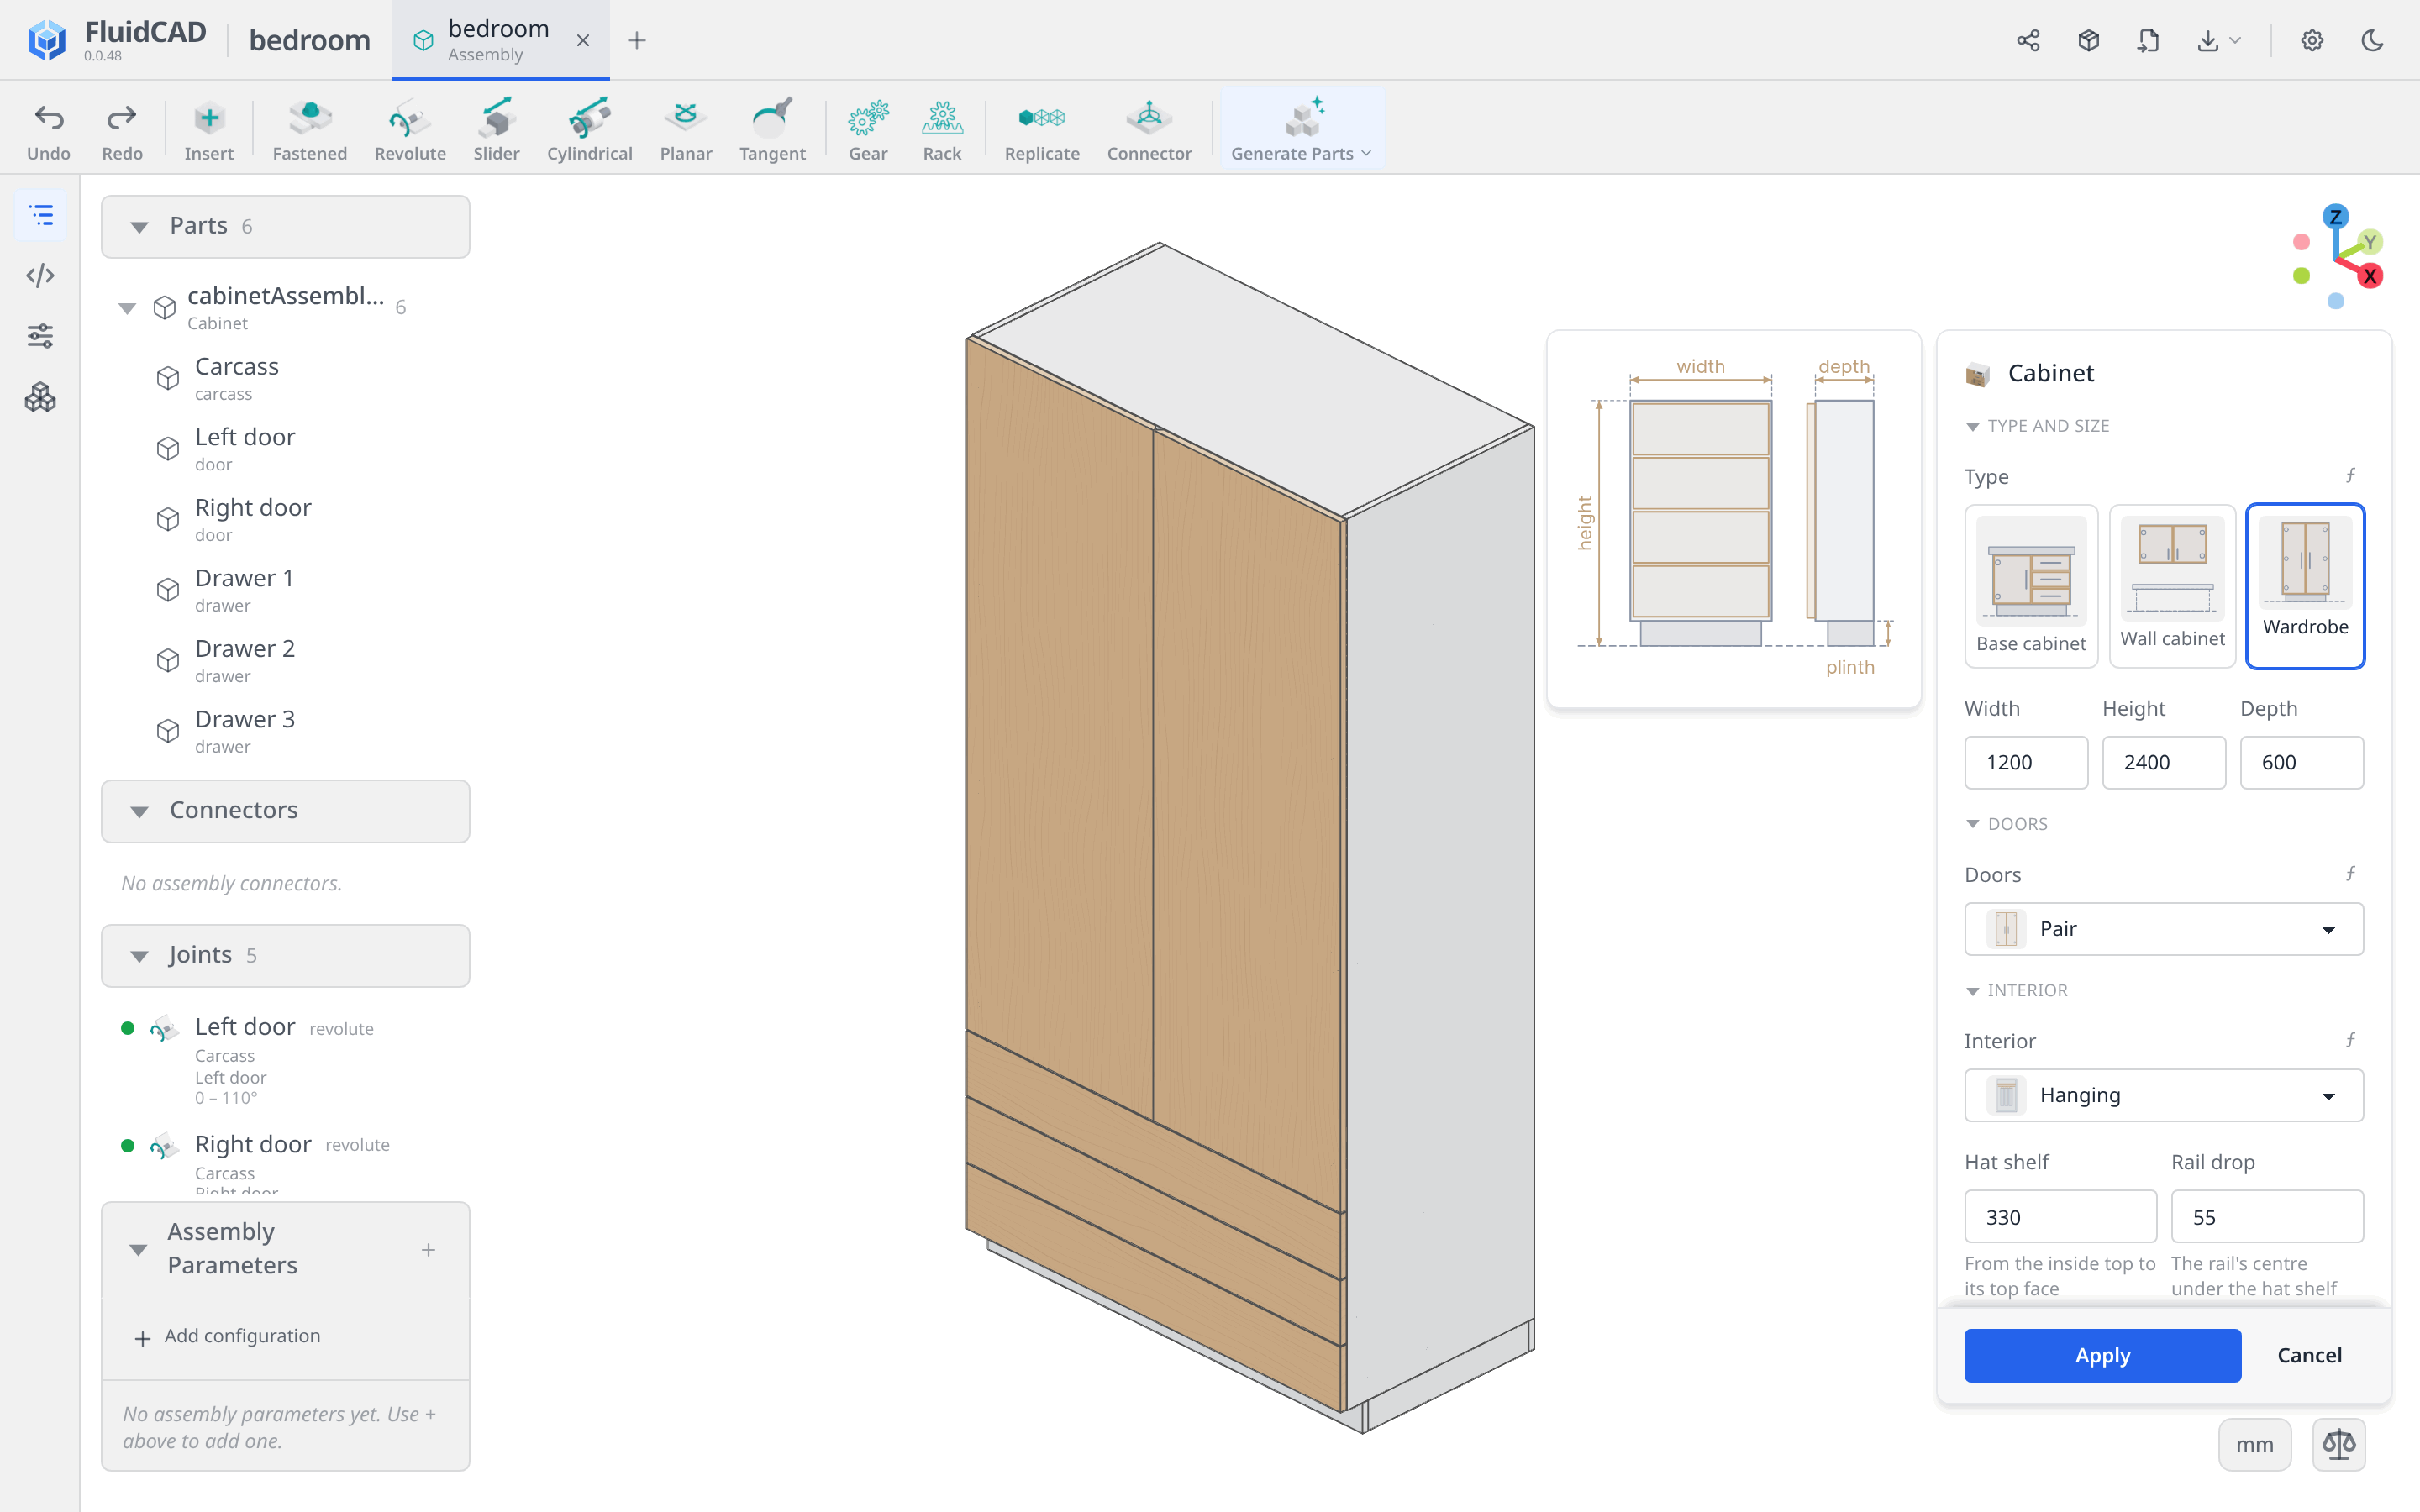
The viewport shows the wardrobe as soon as the dialog opens, at the package's defaults, and follows every value you change. This is the result itself, not a ghost: the real parts, in their own colours and finishes, on their joints. While a build takes longer than a moment, Updating… shows at the end of the dialog's title row. While you drag a slider, the wardrobe may leave out its small parts, such as drill holes and hinge cups. They come back a moment after you let go.
-
Click Apply. The import and one
insert()statement are written, with only the values you changed. The Parts panel shows the wardrobe as an occurrence: a header named after it, with its carcass, doors and drawers under it.
Cancel, or Esc, closes the dialog and puts the model back as it was. Nothing is written.
While the preview shows:
- The panels are read-only. The rows of the Parts, Connectors and Joints panels show the previewed model, not the file, so their menus are gone. A joint row keeps its play button.
- Dragging a part writes nothing. A door dragged open swings on its hinge, and no pose is written.
- The file comes first. If the file changes under the dialog, because you saved it or edited it in the editor, the preview is built again on the new code and the dialog says The model changed, so the preview was rebuilt. If the assembly closes or another file takes the screen, the dialog closes and says why.
- A value the wardrobe can't build, such as a drawer front too low for its runners, shows the package's reason in the dialog. Apply still writes it, and the wardrobe's row in the Parts panel shows the error until you change the value.
The code behind it
import { assembly, insert } from 'fluidcad/core';
import { cabinetAssembly } from '@fluidcad/cabinets'; // a generated assembly, imported by the package's name

export const bedroom = assembly('bedroom', () => {
  // Written by the Cabinet dialog's Apply: the values you changed, by id.
  // Every other value is the cabinet's default for a wardrobe. Edit parameters…
  // merges a change into this object; Toggle grounded on the header added .grounded().
  const cabinetAssembly1 = insert(cabinetAssembly, { type: 'wardrobe', width: 1200, drawerPlacement: 'outside', drawers: 3 }).name('cabinetAssembly1').grounded();

  // The carcass, the doors, the drawers and the joints between them are not
  // in this file: the cabinet makes them from its values. An assembly mates
  // to them through the occurrence's parts, as it would a sub-assembly's:
  // cabinetAssembly1.parts.carcass.connectors.<name>.
});
Editing the values
-
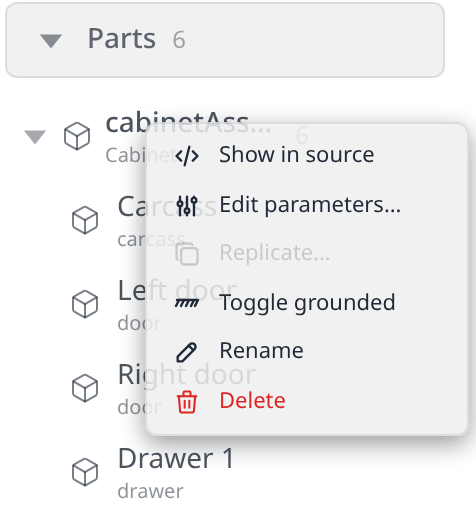
In the Parts panel, open the wardrobe's header menu (⋮, or right-click the header) and choose Edit parameters….
-
The same dialog opens, titled Edit cabinetAssembly1, on the values the
insert()gives. The model stays as it is until you change a value. Then the preview follows, as when inserting. -
Apply writes the values you changed into the
insert()statement and leaves the others as the source says them, an expression included. A row you empty goes back to its default and leaves the statement. Cancel puts the model back. Apply with nothing changed only closes the dialog.
The header's menu is any sub-assembly's (Toggle grounded, Rename, Delete, …), with Edit parameters… opening the wardrobe's dialog. The rows under it belong to the wardrobe: their menus offer Show in source only. Their names, finishes and materials come from the package, so change them through the wardrobe's values.
Opening the doors
The wardrobe's doors turn on revolute joints and its drawers slide on slider joints, inside the occurrence. The Joints panel lists them by name, Left door, Right door, Drawer 1 and so on, with the joint's type beside the name in smaller text, the two parts it joins under it, and its limits.
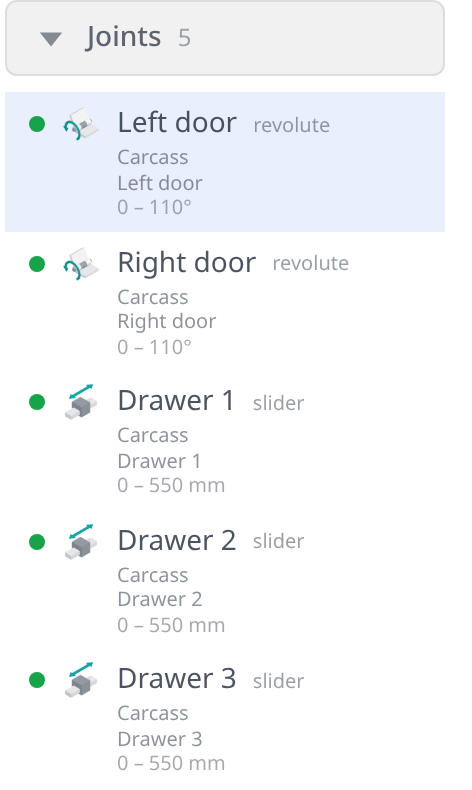
- Drag a door or a drawer in the viewport. It moves on its joint, within its limits.
- Animate a joint: right-click its row (or its ⋮) and choose Animate…. The animate bar drives it from Start to End, seeded from the joint's limits.
- The rows' menus offer Show in source and Animate… only: the joints are the wardrobe's.
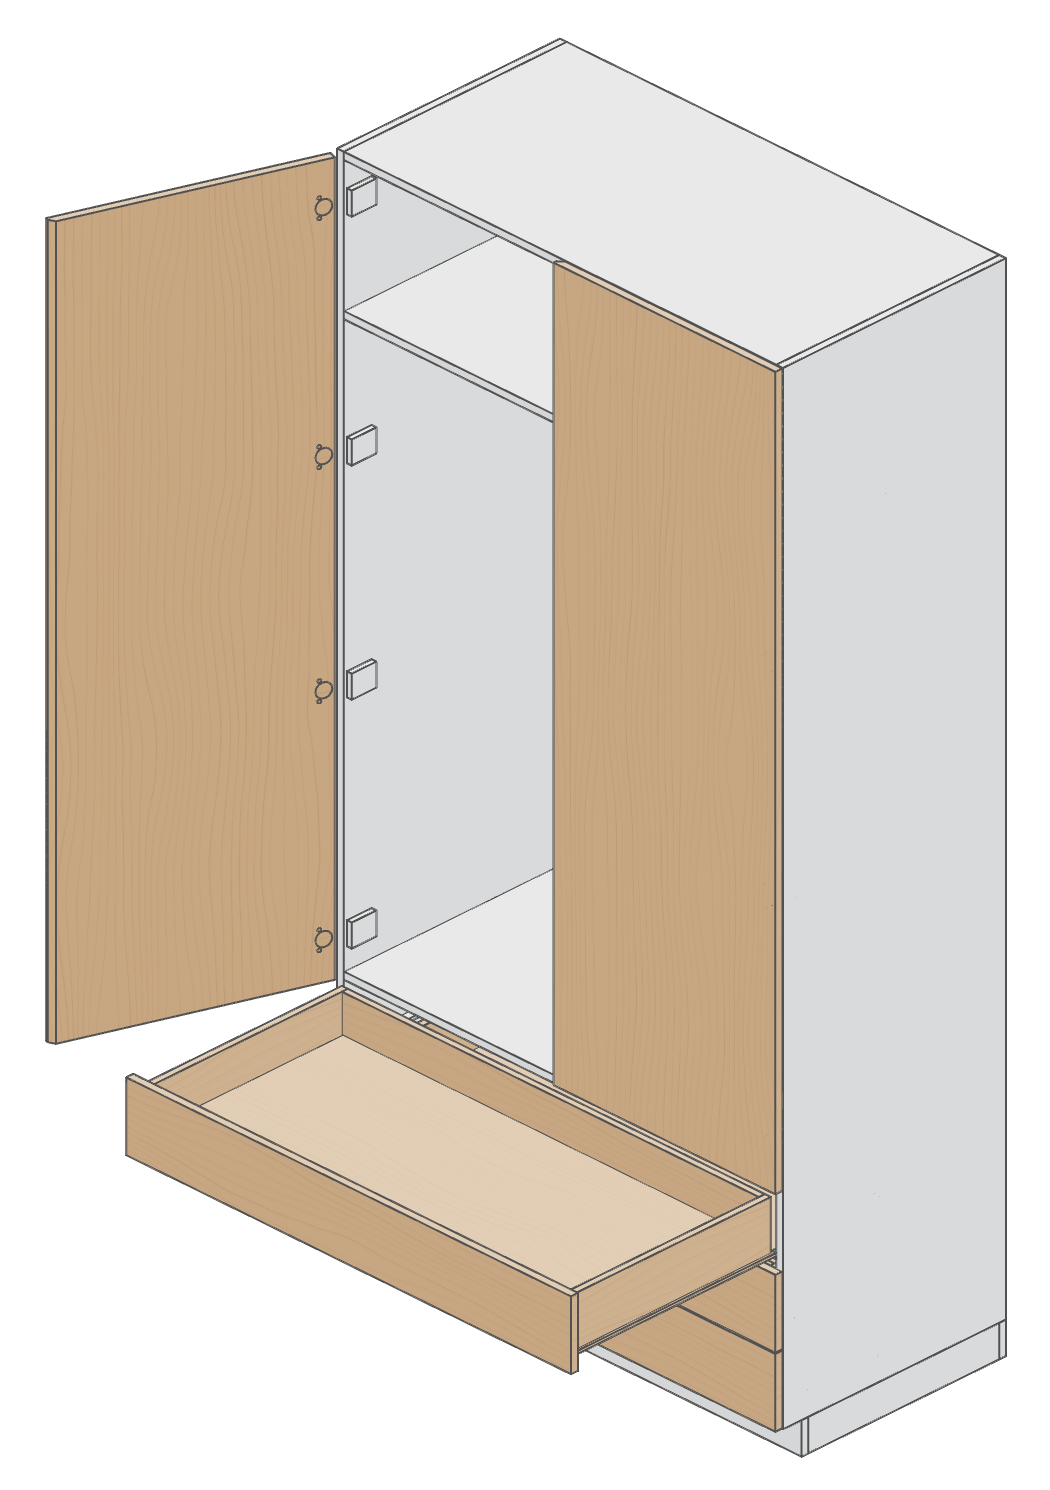
Neither writes anything: the file holds the wardrobe's values, not where its doors stand. The Cabinet's dialog also has a Starting pose section, folded. Its Doors open and Drawers out are values like the others, written into the insert(), and set where the joints start each time the model builds.
Inserting a generated part
A generated part is a single part made from values: the Gear of @fluidcad/gears. It is inserted the same way, from Generate Parts or its tile in the Insert dialog. Its dialog is the gear feature's, with the same tabs and drawing, less the At row: the assembly places the part.
The gear part carries a connector named axis, on the gear's axis. Mate it like any part's connector:
- Click Revolute on the assembly toolbar.
- Click the connector of the part the gear turns on, here the base plate's
bore, then the gear'saxisconnector. - Click Apply. The gear's
axispoints out of the face the gear stands on, as a connector on that face would, so the gear sits on the plate. Flip is only for a connector that points into its own part.
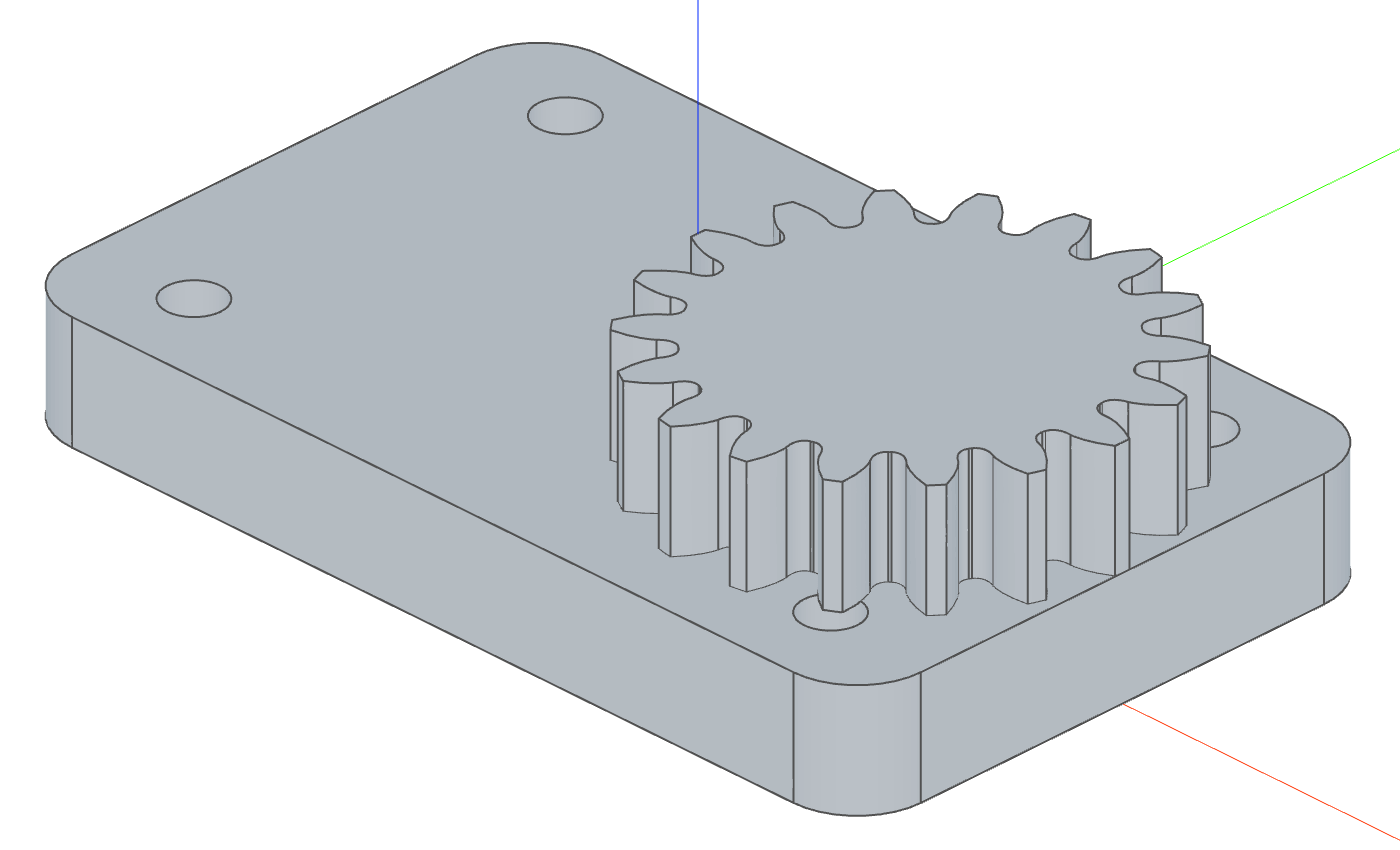
The gear has a row of its own in the Parts panel. Its menu is any inserted part's, and Edit parameters… opens the gear's dialog.
The code behind it
plate is the base plate the rest of this section uses (see the Introduction); its bore connector sits on the top face, Z up.
import { assembly, insert, mate } from 'fluidcad/core';
import { plate } from './asm-plate.part.js';
import { gearPart } from '@fluidcad/gears'; // a generated part, imported by the package's name

export const drive = assembly('drive', () => {
  const plate1 = insert(plate).name('plate1').grounded();

  // Written by the Gear dialog's Apply: the values you changed, by id.
  const gearPart1 = insert(gearPart, { teeth: 18 }).name('gearPart1');

  // Written by the Revolute dialog: the plate's bore, then the gear's axis
  // connector, which the gear feature's axis frame became. A mate lays its
  // frames face to face; the bore points up out of the plate and the gear's
  // axis out of the face the gear stands on, so the gear stands on the plate.
  mate('revolute', plate1.connectors.bore, gearPart1.connectors.axis);
});